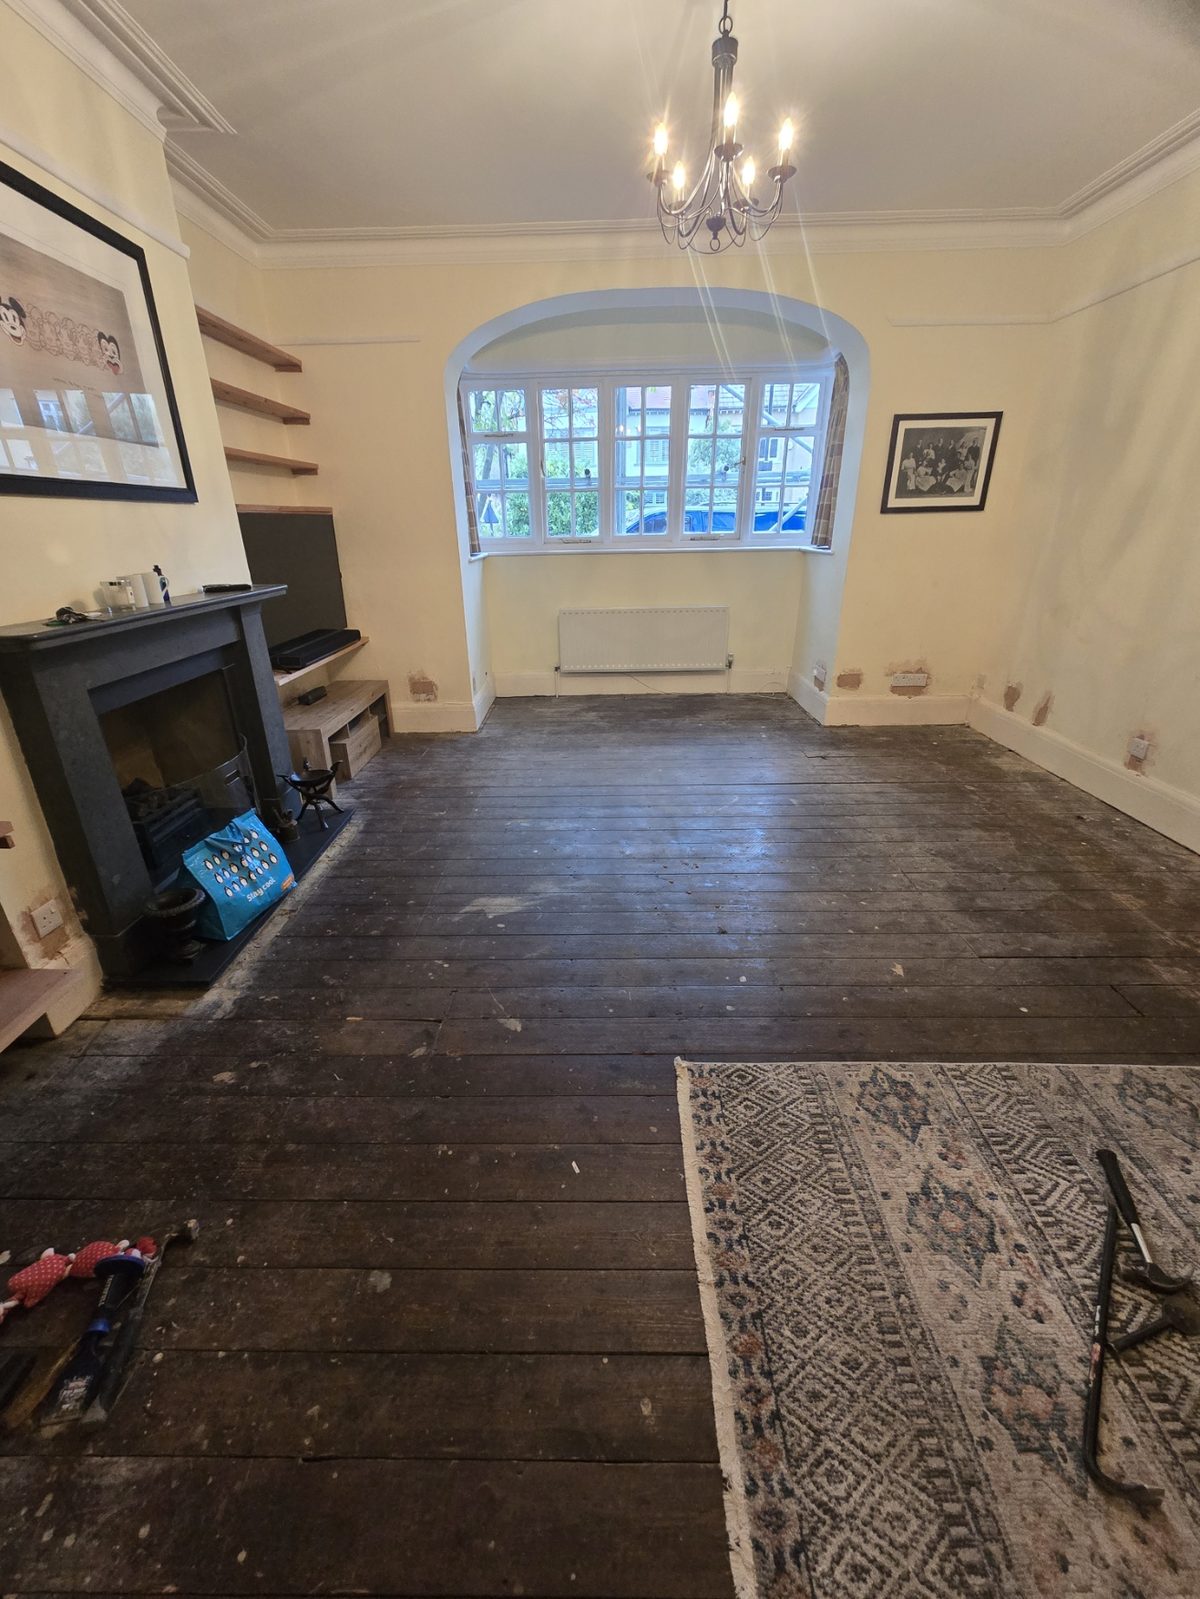
Pine floors take a battering. But here's the secret most people don't know: pine floors are almost always worth saving. They've got character. Grain. Soul. You just have to be willing to do the work to find it again.
I've been sanding pine floors since I was 17. That's over 22 years of hands-on experience restoring original pine floorboards across South London, from Victorian terraces in Clapham and Balham to Edwardian semis in Tooting and Streatham, and period conversions in Brixton and Dulwich. In this guide, I'll walk you through exactly how we do it, step by step, so you know what to expect when we arrive at your home.
Why Pine Floors Are Worth Saving
Most of the pine floors we restore across Wandsworth, Battersea, and the surrounding areas are original to the property, 80, 100, sometimes 120 years old. They were built to last. Underneath the layers of old paint, varnish, and years of wear, the timber is usually in fantastic condition.
Pine has a warmth and character that modern flooring simply can't replicate. The knots, the grain variation, the imperfections, they tell the story of the house. Our job is to strip everything back and let that story show again.

The Equipment We Use
We own all our own professional machinery. No hired kit, no borrowed tools. Whether we're working on a compact bedroom in Kennington or a large open-plan ground floor in Putney, we bring the same equipment to every job:
- Lagler Hummel: 8-inch belt sander, the workhorse that does the heavy lifting
- Lagler Flip: edge sander for the perimeter, skirting boards, and tight spaces
- Orbital hand sander: for blending the edges seamlessly into the middles
- Hand scraper and triangle sander: for perfect corner detail work
- Buffing machine: for denibbing between lacquer coats
The Pine Floor Sanding Process: Step by Step
Step 1: The First Cut (36 Grit)
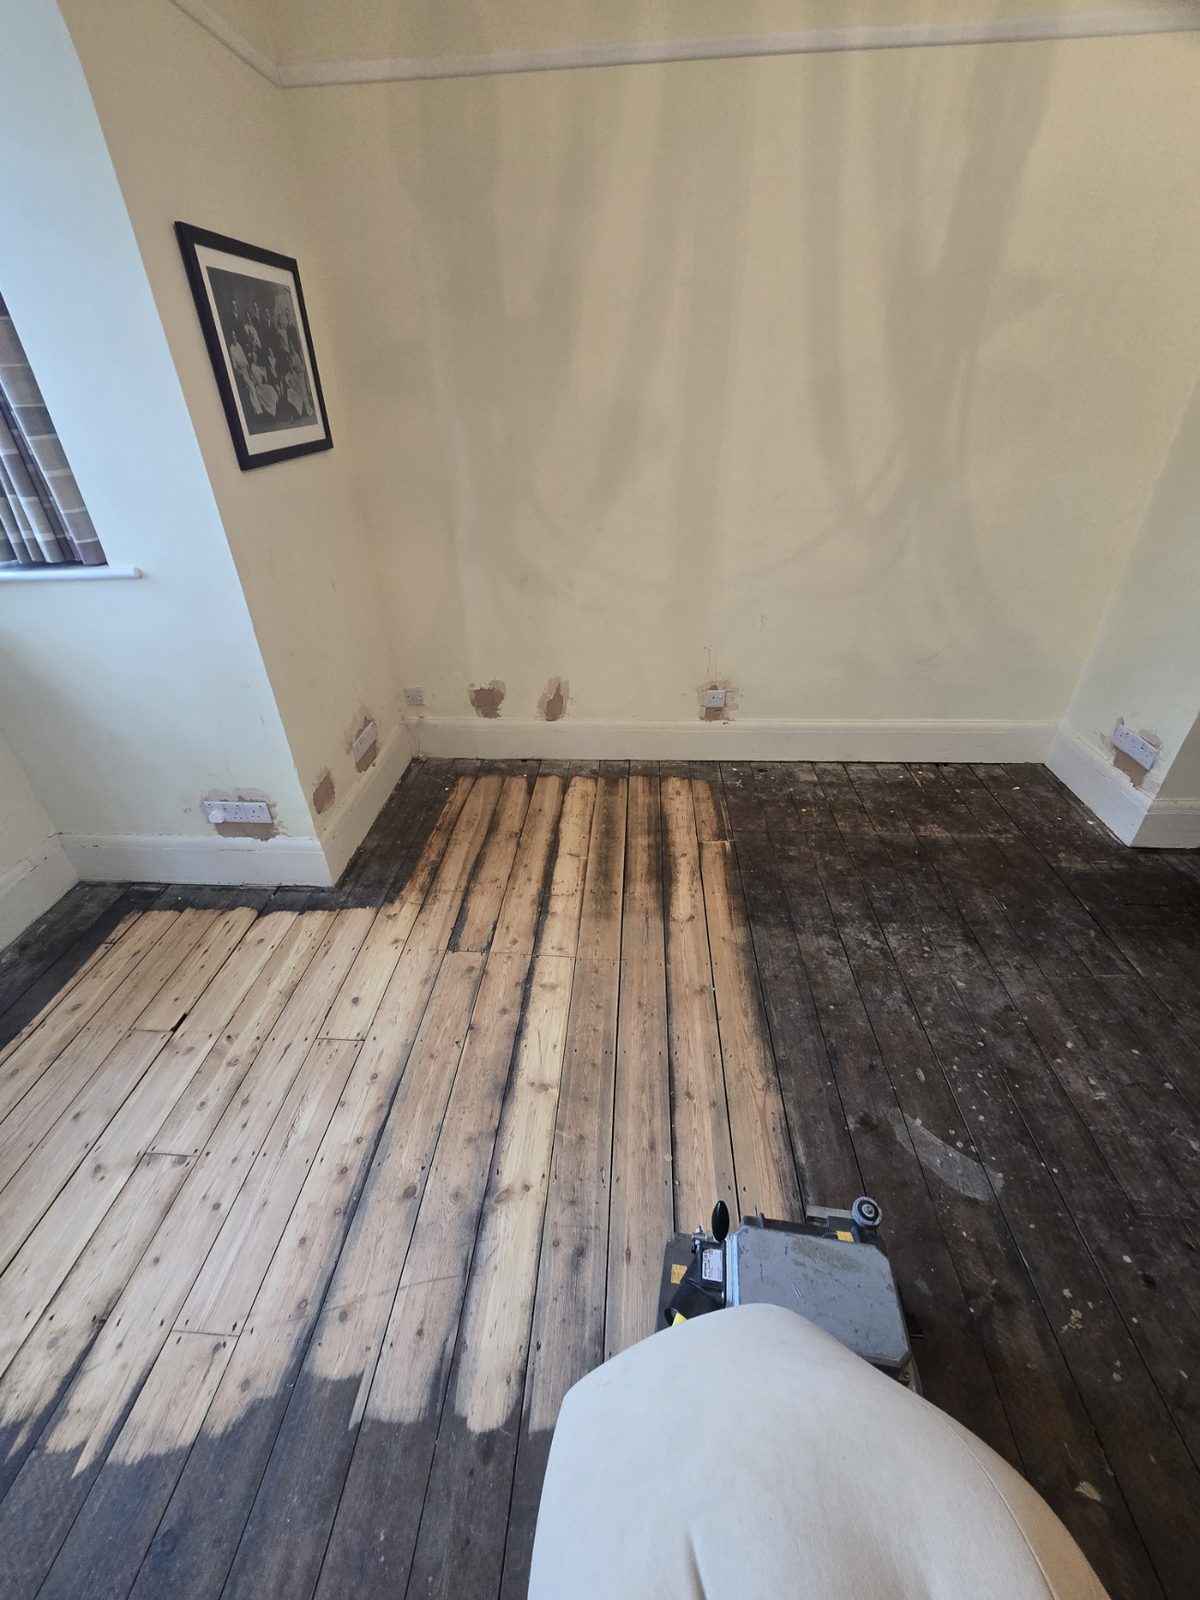
We start with a coarse 36 grit belt on the Lagler Hummel. This is the muscle work. It levels the floor and strips away whatever's on there. Old paint, varnish, years of built-up coating, stains from that time someone spilled red wine in 2003. It all comes off.
The Hummel runs up and down the room in straight, overlapping passes. It's loud, it's powerful, and it's incredibly satisfying to watch the original pine emerge from underneath decades of wear. We've uncovered beautiful original boards in properties from Crystal Palace to Colliers Wood. Every floor has a surprise underneath.
Step 2: First Edge Sand (36/40 Grit)
The belt sander can't reach the edges of the room, so we follow up with the Lagler Flip edge sander around the full perimeter. This gets right up to the skirting boards, into alcoves, and around doorframes, matching the same grit we used on the belt sander.
In older properties across Camberwell, Herne Hill, and Peckham, you often find bay windows, fireplaces, and unusual alcoves. The Flip handles all of these. At this stage we use the edger only, no orbital yet.
Step 3: Filling the Gaps
Pine floorboards move over the years. They expand in summer, shrink in winter, and over time gaps appear between the boards. We have two ways to deal with this, depending on the size of the gaps and what you'd prefer.
Pine slivers are our go-to for deeper gaps. We apply PVA glue into the gap and tap a sliver of pine in with a hammer. It's a natural, long-lasting fill that moves with the wood and looks like it was always there.
For smaller, more uniform gaps, we use a flexible rubber-based filler called Total Fill. It's applied with a caulking gun and smoothed off with a wet finger. It stays flexible, so it won't crack as the boards move with the seasons.
We source our pine slivers and fillers from our trade suppliers locally. We're fortunate to have great stockists near us in Catford and Epsom.
Step 4: Second Cut (60 Grit)
Once the filler is completely dry (we always wait at least 2-4 hours), we fit a 60 grit belt to the Hummel and sand the entire floor again. This removes the excess filler, sands off any PVA residue, and brings the floor to a uniform level. If pine slivers are sitting high, we cut them flush with a multi-tool before this stage.
Step 5: Second Edge Sand (60 Grit)
Back around the edges with the Flip at 60 grit to match the belt sander. Still edger only at this stage, no orbital.
Step 6: Third Cut (80 Grit)
Now we're smoothing. The 80 grit belt removes the scratch pattern left by the coarser 60 grit. At this point the floor is starting to look and feel really good. You can see the grain clearly and the surface is getting silky.
Step 7: Third Edge Sand (80 Grit)
The Flip goes around the edges one last time at 80 grit. This is the final pass with the edge sander.
Step 8: Final Belt Cut (120 or 150 Grit)
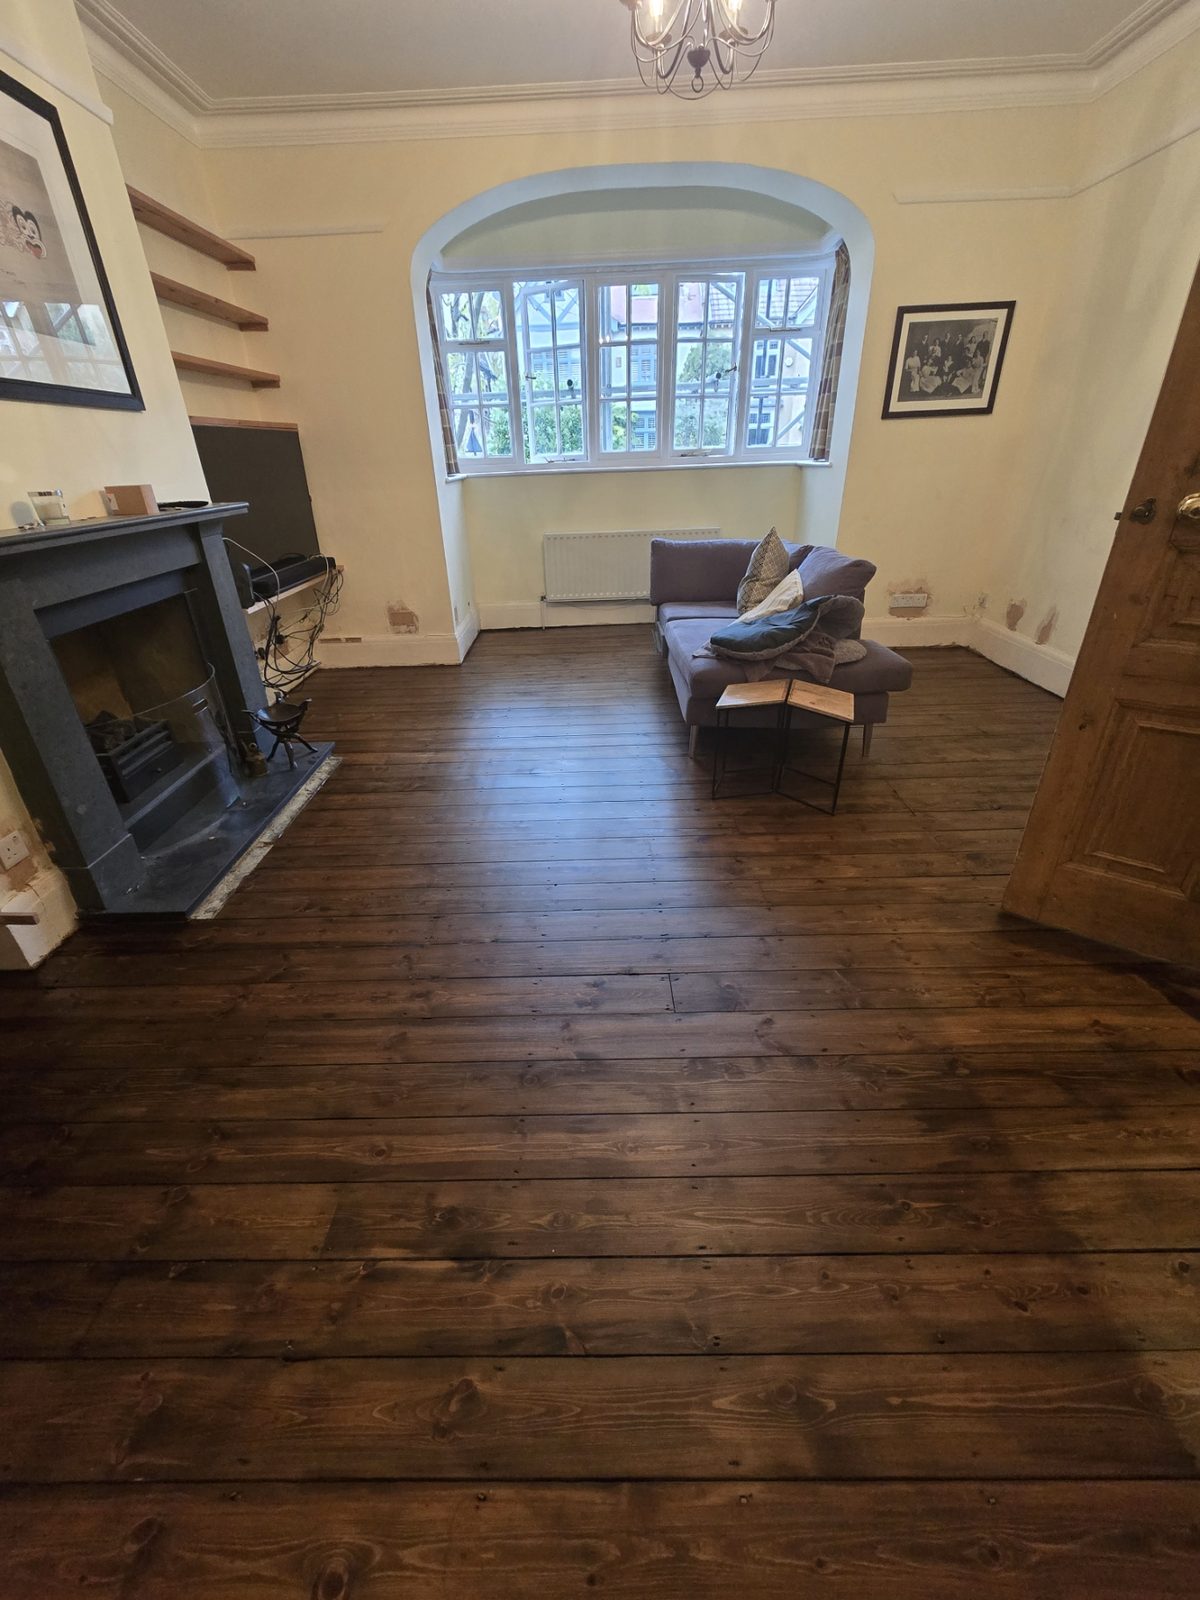
This is the last pass with the Hummel. For a natural or clear lacquered finish, we use 120 grit. If we're staining the floor, we go finer to 150 grit. This opens the grain more evenly so the stain absorbs consistently across the whole floor, rather than going blotchy in patches.
At this point the floor looks stunning. The pine is smooth, clean, and ready for finishing.
Step 9: Orbital Hand Sander
Now, and only now, we bring out the orbital hand sander. We use it around the full perimeter of the room to remove the circular marks that the edge sander leaves behind. This blends the edges seamlessly into the belt-sanded middles so you can't see where one machine stopped and the other started.
For natural finishes we use 80-120 grit on the orbital. For staining, we go to 150 grit.
We never use the orbital until after the final belt cut. Doing it earlier would be wasted effort because subsequent sanding passes would undo all the blending work.
Step 10: Hand Scraping the Corners
This is always the very last sanding step, and it's the one that separates a professional job from a DIY attempt.
We hand scrape every corner of the room, the spots where absolutely no machine can reach. Then we go over each corner with a triangle sander, using the same grit as the last edger pass, to make sure the finish is completely uniform across the entire floor.
Why do we do corners last? Because the edging and orbital sanding creates a small ridge in the corners. If we scraped the corners earlier, that ridge would still be there when we finished. By doing it last, we level everything perfectly flat.
In the Victorian and Edwardian properties we work on across Stockwell, Oval, Vauxhall, and Bermondsey, the rooms often have ornate corners and period features. Every single one gets the same hand-finished treatment.
What Happens Next?
Once sanding is complete, your pine floor is ready for finishing. That might be:
- A clear lacquer to show off the natural pine colour, the most popular choice in Balham and Clapham
- An oil finish for a more natural, matte look (oiled floors need re-oiling once a year)
- A stain to completely change the colour. We use LOBA Procolor stains which come in over 15 colours from Chalk and Sand through to Smoked Oak, Wenge, and Ebony
We always discuss the finish with you before we start, and we can bring sample swatches to your home so you can see the colours on your actual floor before committing.
Between lacquer coats, we do something called denibbing. We run a 200 grit wire mesh pad on our buffing machine across the entire floor. This removes any tiny nibs or dust that settled into the first coat, so the final finish is completely smooth. It's one of those details most people never see, but you can definitely feel the difference.
Watch the Full Process
We filmed the entire pine sanding process on a recent job. Watch the reel on @howardnaishwoodenfloorsltd on Instagram to see every step in action.
How Long Does Pine Floor Sanding Take?
A typical pine floor sanding job takes 1-2 days depending on the size of the room, the condition of the floor, and whether we're staining. A standard living room or bedroom can usually be sanded in a day, with finishing coats applied over the following day or two.
How Much Does Pine Floor Sanding Cost?
Every floor is different, but as a guide, pine floor sanding typically costs £40-60 per square metre depending on the condition of the floor and the finish required. We always provide a free, no-obligation quote after a site visit. No pressure, no hard sell.
Why Choose Howard Naish for Your Pine Floor?
We're not the cheapest, and we never will be. But here's what you get:
- 22 years of hands-on experience: Dean has been sanding floors since he was 17
- Every job done personally by Dean or Luke: no subcontractors, no strangers in your home
- 5-star Google rating across 45+ reviews
- All our own professional equipment: Lagler Hummel, Lagler Flip, four-pad machine
- Fully insured and Checkatrade verified
- Genuine care for your home: our customers call us friends by the end of every job
Most of our work comes through personal recommendation. People trust us with their homes because they can see the difference in quality.
Whether you're in Balham, Clapham, Wandsworth, Dulwich, Tooting, or anywhere else across London, we'd love to take a look at your floor.
Call us: 020 3131 0122
Email: info@howardnaish.co.uk
Or book a free site visit. We'll come to you, assess the floor, show you finish and colour options, and give you a clear, honest quote.